Cooking, Sewing, Working, Traveling, Gardening and Pondering

Continuous effort - not strength or intelligence - is the key to unlocking our potential.

~Winston Churchill~
Showing posts with label Tutorial. Show all posts

Thursday, May 10, 2012

Feverishly Stitching

For the last few weeks, I've been working on the quilt for my great nephew.  Lil guy came a few weeks early making me now be a few weeks late with this quilt.  I'm close to finishing the hand quilting but not yet done. I've put in quilt batting and am backing the quilt with swirly brown minky. 

Untitled

In yesterday's mail, I got some really good things instead of just mail!

I ordered these great pacifier leashes and matching pouch from my friend Karen's Etsy Shop.  These I will send along with the quilt to my great nephew.

Untitled

Then Karen sent me something for me as a surprise! That girl is crazy and sweet and such an inspiration!

Love it! Thank you so much Karen!
Untitled

Karen has a tutorial on her blog on how to make these great mug cozzies too!

Wednesday, August 3, 2011

Sauteed Parsnips

Thought I'd give you another cooking tutorial and this time on something we are really enjoying at home these days - Sauteed Parsnips.


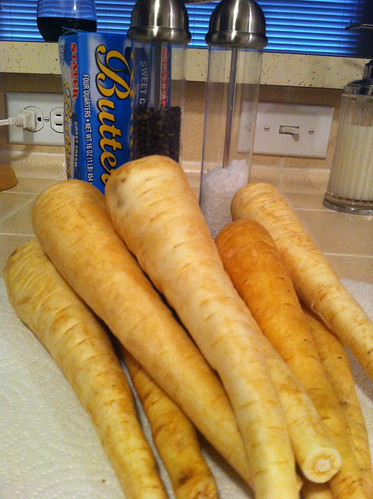
Here are the ingredients.

12 parsnips
S&P
Butter and/or Olive Oil

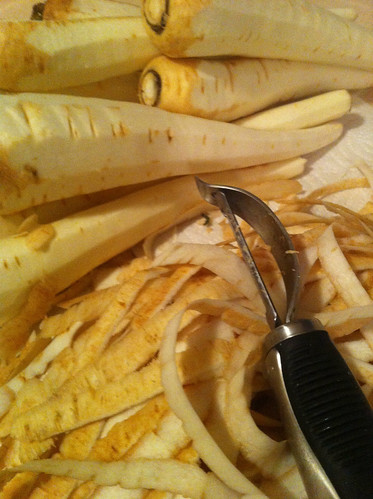
Peal the parsnips.


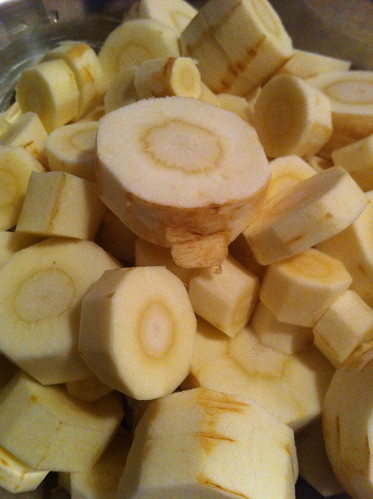
slice them into rounds


Put the butter or oil in the skillet on medium heat.


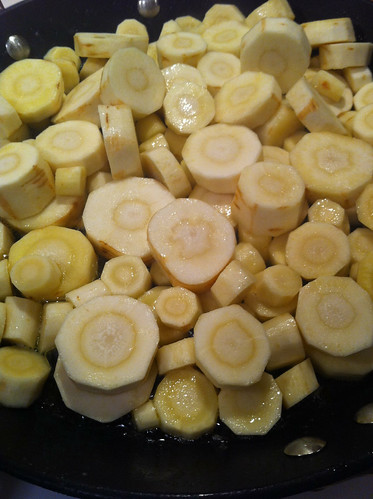
Add in the parsnips and

cook until golden brown. Season with Salt & pepper to taste and enjoy!.

***Note they should be very golden brown and darker than in the picture - I somehow didn't get the final picture ;(***

Wednesday, June 8, 2011

Baked Acorn Squash Tutorial

I've been planning on posting this for a while now. It's not hard to make, there are many different versions out there but this is mine. We have baked acorn squash fairly often with all kinds of main dishes.

There are 2 of us so I make 2 acorn squashes - usually gives us something for our lunches the next day too. Preheat the oven to 400 degrees.

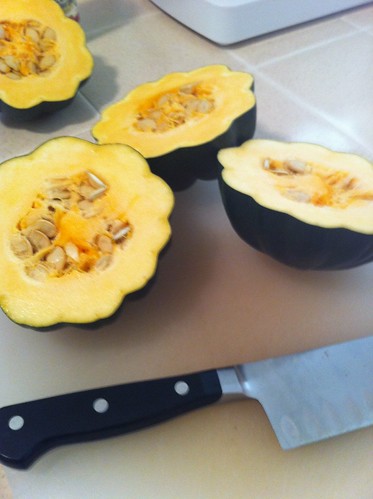
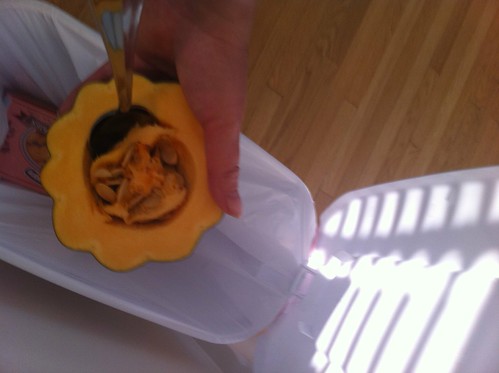
Slice them in half and clean out the seeds. Slice in the middle between the stem and the top cross wise. You can also do a parallel cut to remove the stem and the top making them "sit" flat on the plate later.


Line a cookie sheet (I use one with walls) with aluminum foil. I then put 2 Tablespoons of coconut oil onto the foil lined cookie sheet. Usually, it is solidified so I put into the oven to melt before I put the squash in.


When I put the squash in, I make sure to rub the squash around in the oil so the cut edges get nice and oiled up.


Bake for about 30 minutes - note you should start checking for them to be fork tender after about 20 minutes. Depending on the age of the squash or size, the cooking time can vary.


The coconut oil will have caramelized a little given a nice nutty flavor to the squash.

Serve with your favorite main dish like the pauper meal and enjoy.

Monday, April 11, 2011

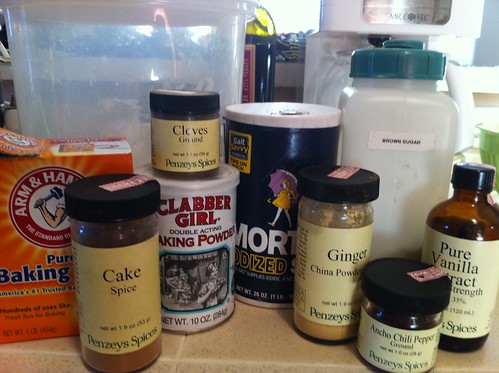
Fresh Apple Spice Cake Tutorial or not Tutorial?

I made fresh apple spice cake yesterday and took all these pictures thinking I'd make it into a tutorial.

However, it is just not that exciting of tutorial.

I did get a lot of yard work done- AKA 2011 Grub Worm War. I try to be chemical free in the back yard as much as possible. However, here in southern California I have 3 pests that continue to get the better of my garden - slugs, grub worms and grasshoppers. Slugs I can kind of keep under control with pet friendly slug bait. Grasshoppers there is really no cure outside of stalking them and killing them first hand. Now grub worms are the worst. I've used the chemicals only to have them come back in a week. I'd read of two natural solutions - nematodes and a home remedy you spray on.

I found the recipe for the home remedy online and it is 2 cups mouthwash (unflavored), 2 cups dish soap, 2 cups tobacco juice, 2 cups ammonia mixed into one gallon of boiling water. Mix well and spray on dirt and lawn and areas needing to have grubs eradicated. I mixed it up and used my pump sprayer to apply on all the flower beds yesterday. And I added some chemical granules to the front beds too - just in case. I call it napalming the area.

Then I applied miracle grow to all the potted plants and flowers, staked up my pole beans, removed the overgrown purple basil that hummed with bees, the odd man out lavender, planted okra, weeded the beds and spread out top soil to the bare areas in the yard from all the rain in December.

Today called for 4 advil, yoga, 1.7 mile walk and lots of coffee in recovery.

Thursday, February 10, 2011

My Green Bean Tutorial

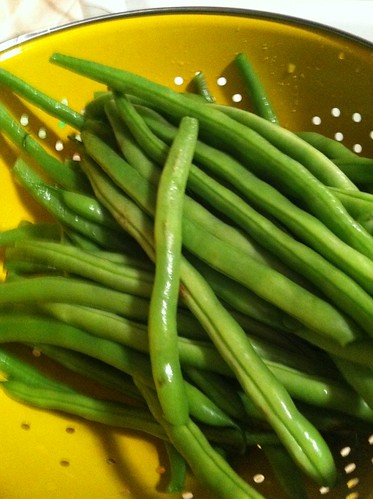
Obviously, I start with nice and fresh green beans. Trim the stem end and rinse them well.


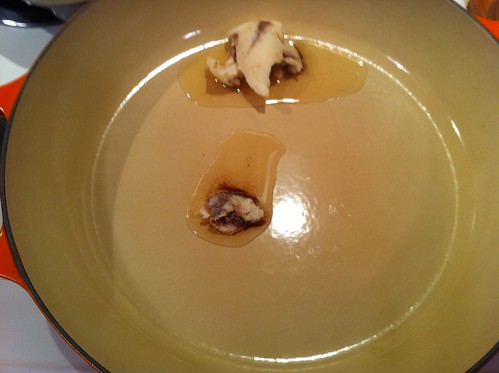
In a large skillet or pan, melt 2 Tablespoons of bacon fat (I keep my bacon drippings in a jar in the fridge for just this purpose)over medium heat.


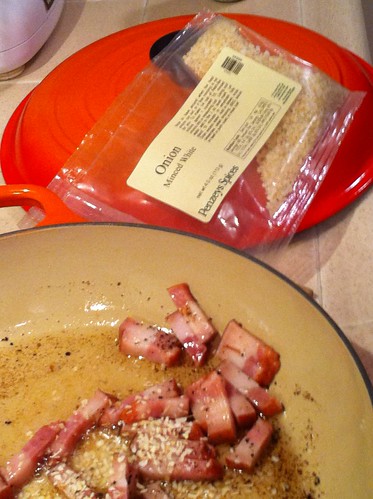
Next slice lardons of some sort of pork product - bacon, fat back or I used smoked pork jowl for this tutorial.

Render off the fat from the pork until the lardons are crispy and look like this.


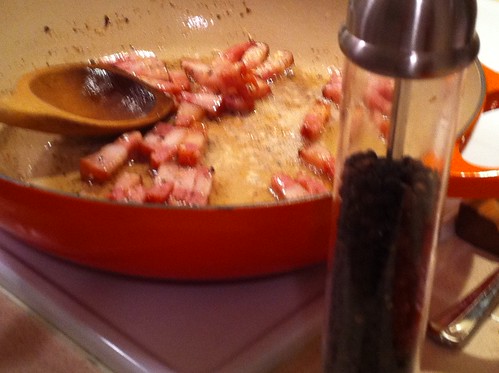
Then I add in some onion flakes about 1 Tablespoon (yes you can use fresh, but I like the intense flavor of the flakes).


Reduce the heat to low and add in 1 teaspoon of pepper.


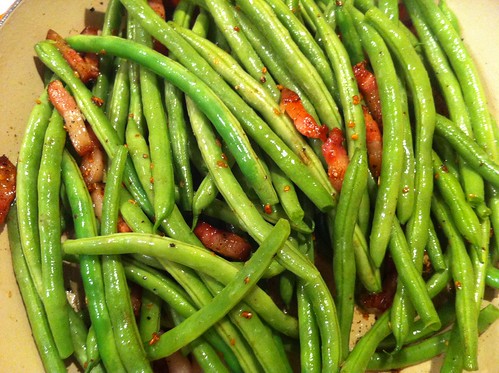
Add in the green beans and give everything a good toss, coating the beans in the all the pot liquor.


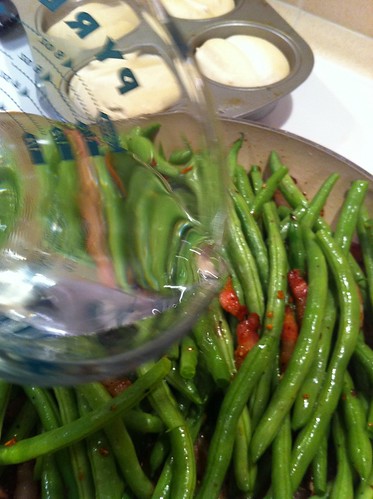
Then I add in 1 cup of water.


Put the lid on and let it simmer on low for 20-30 minutes stirring occasionally until the beans are tender.


Serve them up with your favorite meat and taters and enjoy.