Cooking, Sewing, Working, Traveling, Gardening and Pondering

Continuous effort - not strength or intelligence - is the key to unlocking our potential.

~Winston Churchill~
Showing posts with label recipe. Show all posts

Monday, September 30, 2013

Whole Life Challenge

Ever since Sept 5th I've been participating in the Whole Life Challenge.  It's a form of lifestyle change challenge where you sign up to eat clean, be active and track each day.   Mostly, I've done ok.  Missed some workout from a back injury, but I've been able to do small modified workouts at home that count - For example - 3 rounds of 25 squats, 25 push ups, 1 minute planks, 10 lunges.  The goal is a minimum of 10 minutes workout and 10 minutes stretches or mobility.  The stretching is easy for me - I stretch my hamstrings when I blow dry my hair upside down each morning, then at lunch when I'm in the break room microwaving my lunch 2-3 minutes I stretch.  One day someone will catch me in downward dog in front of the microwave...sigh.  Then in the evenings, I spend some time with the foam roller working on my back.  There are 3 levels to the challenge, and I went for the intermediate since I had already gone gluten free. 

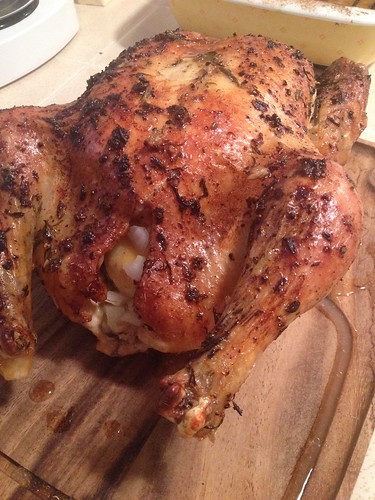
Anyway, below is my recipe for Roast Lemon Chicken that I pretty much devoured last night.  It is within my intermediate level of the challenge.
 Camera Roll-1325
 
1 Whole Chicken (4-6 lbs)
zest of one lemon - reserve lemon for stuffing in cavity - cut in half
1 Tablespoon fresh thyme
1 Tablespoon fresh rosemary
3 cloves garlic
1 teaspoon fresh ground pepper
1 teaspoon salt + 1 teaspoon more for topping
1/2 rough chopped onion
4 T. cubed butter
1 C. chicken stock
1 c. white wine
1/4 c. olive oil
I used a mortal and pestle to grind up Zest, thyme, rosemary, garlic and 1 t. salt & pepper until it reaches a paste consistency.
Rinse chicken in water and pat dry with paper towels.
Drizzle olive oil all over chicken.and then rub in the paste all over the chicken.  Reserve a about 1/2 teaspoon of the paste for the cavity.

Put the chicken in a roaster/dutch over on a rack breast up.
Into the cavity stuff the lemon used for zesting (cut in half) - I put one half in first, with two tablespoons butter cubed up, then a little of the paste, then chopped onion, then 2 more tablespoons cubed butter and close with the remaining lemon half.
In the pan pour in chicken stock and white wine - if you have it.
Sprinkle chicken breast side up with remaining salt - I use a french sea salt, but your preferred salt is fine.

Put into a 425 degree oven for 30 minutes.  Then reduce oven to 375 for 1 hour.
Check internal temp at breast or thigh to be 160.  once 160 is done, remove from oven and let rest for 10 minutes. Note - I also baste it with the pan juices two or four or five times during cooking...

Thursday, December 15, 2011

From mistakes come challenges

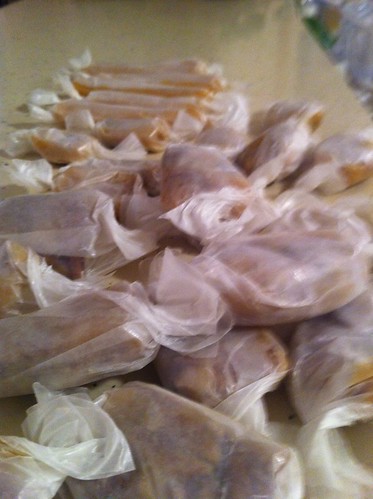
When making the dresden plate quilt, I decided I needed to add additional plates. So I ordered more charm packs, and went to work. However, I couldn't find the paper template I'd used before on the previous dresdens. I ended up buying the plastic template. Measured it as best my pea brain could again the already made plates and went to work sewing them up. Well, we all know this doesn't end well. They were not the same angle/radius so they did not match the older ones. Here I was left with 2 odd ball dresden plates. What to do what to do. So I wiped up these little candlemat/mug rugs - depending on the application you see - multi-taskers. Then this week's surprise in the mail was this awesome mug rug from Regena over at The Distracted Domestic Diva! Thank you - you are such a wonderful lady and I'm so glad you're my close friend. One evening I tried my hand at these microwave homemade caramels. super easy - took longer to wrap them all than to make them. I sea salted some and pecanned the others. (is pecan-ned a word?) Recipe here Here's a sneak peak at something for an upcoming swap...I'd say which one, but that might give it away to my partner. Just a little over a week - are you ready for Christmas?

Friday, October 14, 2011

I tried a new recipe last night

My hubs likes to take home made goodies in his lunch. While trolling through Pinterest I found this great cooking blog Lick the Bowl So I made these great pecan pie cupcakes last night. My review - 5 minutes of prep I baked for 30 minutes as I only have a jumbo muffin tin and they just took longer than the mini muffin tin instructions. Outcome DELICIOUS!!! run hurry put some in the oven - you won't regret it!

Wednesday, August 3, 2011

Sauteed Parsnips

Thought I'd give you another cooking tutorial and this time on something we are really enjoying at home these days - Sauteed Parsnips.


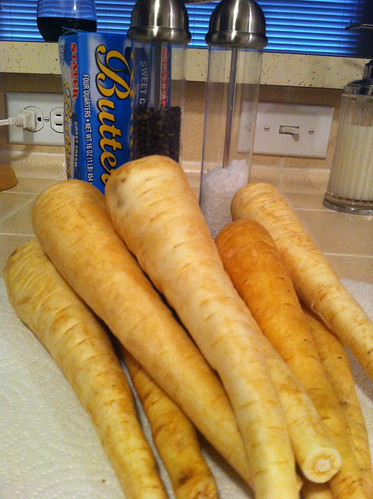
Here are the ingredients.

12 parsnips
S&P
Butter and/or Olive Oil

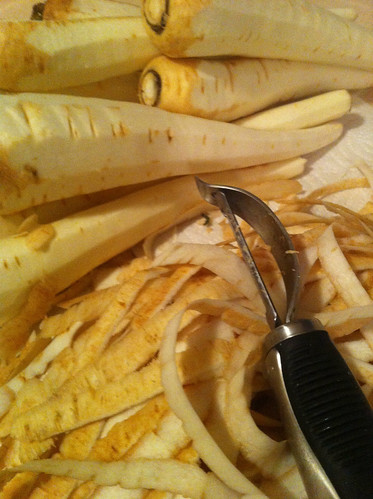
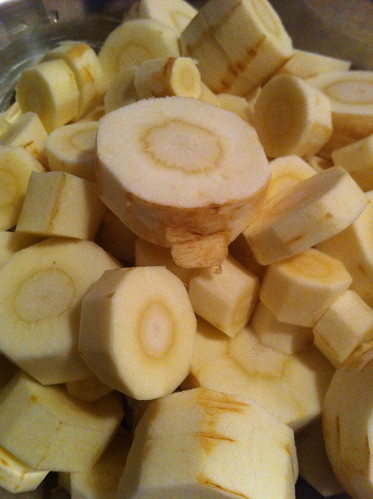
Peal the parsnips.


slice them into rounds


Put the butter or oil in the skillet on medium heat.


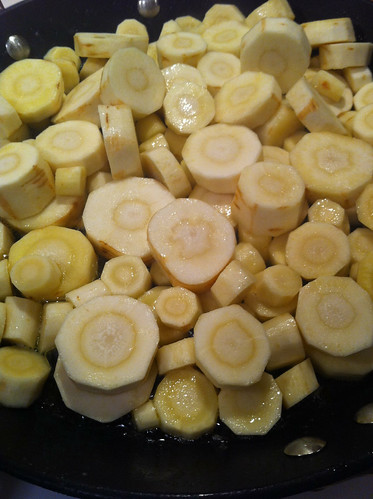
Add in the parsnips and

cook until golden brown. Season with Salt & pepper to taste and enjoy!.

***Note they should be very golden brown and darker than in the picture - I somehow didn't get the final picture ;(***

Wednesday, June 8, 2011

Baked Acorn Squash Tutorial

I've been planning on posting this for a while now. It's not hard to make, there are many different versions out there but this is mine. We have baked acorn squash fairly often with all kinds of main dishes.

There are 2 of us so I make 2 acorn squashes - usually gives us something for our lunches the next day too. Preheat the oven to 400 degrees.

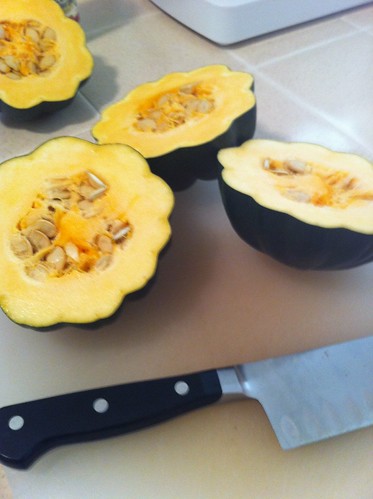
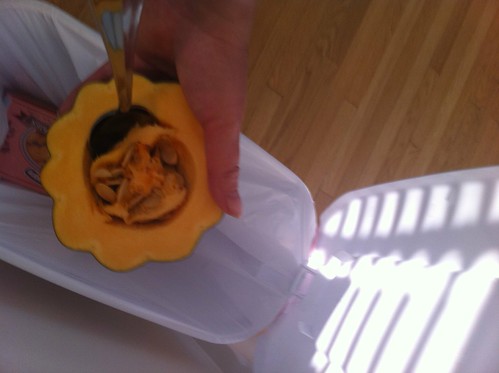
Slice them in half and clean out the seeds. Slice in the middle between the stem and the top cross wise. You can also do a parallel cut to remove the stem and the top making them "sit" flat on the plate later.


Line a cookie sheet (I use one with walls) with aluminum foil. I then put 2 Tablespoons of coconut oil onto the foil lined cookie sheet. Usually, it is solidified so I put into the oven to melt before I put the squash in.


When I put the squash in, I make sure to rub the squash around in the oil so the cut edges get nice and oiled up.


Bake for about 30 minutes - note you should start checking for them to be fork tender after about 20 minutes. Depending on the age of the squash or size, the cooking time can vary.


The coconut oil will have caramelized a little given a nice nutty flavor to the squash.

Serve with your favorite main dish like the pauper meal and enjoy.

Friday, May 6, 2011

Do you Derby?

Tomorrow will be the running of the 2011 Kentucky Derby. So we recently ordered some Maker's Mark Mint to mix up some mint juleps to celebrate!


This week my partner received her Flirty Apron Swap Apron so I can reveal it now!


Sorry I don't have a dress form or a kid or even a husband that would be willing to model it for me. I hope she liked it :).


Now I'm in full wait mode for Nadine to get her Sewing Accessories I mailed off this week. *groan* I just don't handle waiting well.

Monday, April 11, 2011

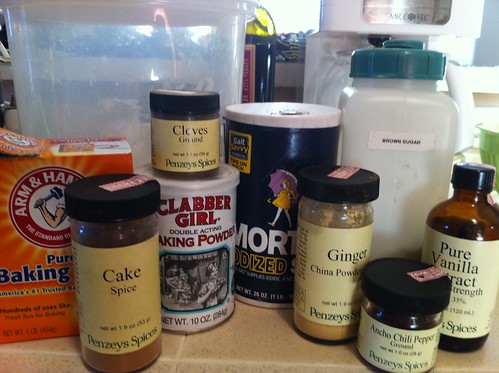
Fresh Apple Spice Cake Tutorial or not Tutorial?

I made fresh apple spice cake yesterday and took all these pictures thinking I'd make it into a tutorial.

However, it is just not that exciting of tutorial.


I did get a lot of yard work done- AKA 2011 Grub Worm War. I try to be chemical free in the back yard as much as possible. However, here in southern California I have 3 pests that continue to get the better of my garden - slugs, grub worms and grasshoppers. Slugs I can kind of keep under control with pet friendly slug bait. Grasshoppers there is really no cure outside of stalking them and killing them first hand. Now grub worms are the worst. I've used the chemicals only to have them come back in a week. I'd read of two natural solutions - nematodes and a home remedy you spray on.

I found the recipe for the home remedy online and it is 2 cups mouthwash (unflavored), 2 cups dish soap, 2 cups tobacco juice, 2 cups ammonia mixed into one gallon of boiling water. Mix well and spray on dirt and lawn and areas needing to have grubs eradicated. I mixed it up and used my pump sprayer to apply on all the flower beds yesterday. And I added some chemical granules to the front beds too - just in case. I call it napalming the area.

Then I applied miracle grow to all the potted plants and flowers, staked up my pole beans, removed the overgrown purple basil that hummed with bees, the odd man out lavender, planted okra, weeded the beds and spread out top soil to the bare areas in the yard from all the rain in December.

Today called for 4 advil, yoga, 1.7 mile walk and lots of coffee in recovery.

Sunday, March 27, 2011

Apricot Fried Pies

Debbie posted on her blog a few weeks ago about needing a fried pie recipe - one like your Mamaw would have made. Well in seven years or so that I've lived with my husband, he has coach, advised and coerced me into making fried pies like his Ninie (Thelma). So for Debbie, this is my tutorial. If you're looking for something healthy, you may as well stop reading.

I will make 9 pies with this recipe (it's only me and the hubs, more would go be wasteful). Multiple up if you want to make more. I also made all 16oz of the apricots, because half of the filling, I will put in the freezer for the next time. Total time to make these is 2 hours start to finish.


I start with dehydrated apricots. If I can get fresh they work too, you just have to adjust the cooking time to less as they will break down faster.

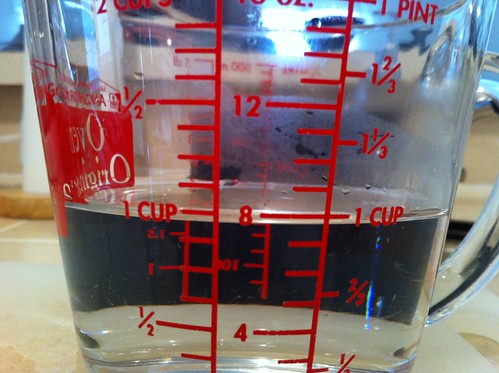
I put the apricots as they come in a pot with 1 cup of water on medium heat.

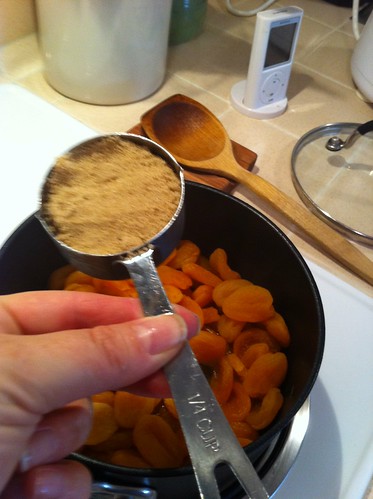
I let them start to stew. Once they start to take on some of the water I add in 1/4 cup brown sugar - I like it's flavor best but you can substitute honey, white sugar, etc. Then I let it stew some more. (15-20 minutes)


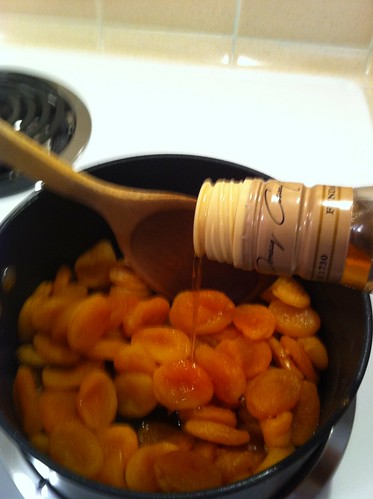
Here is when I add in about one shot of dark rum,
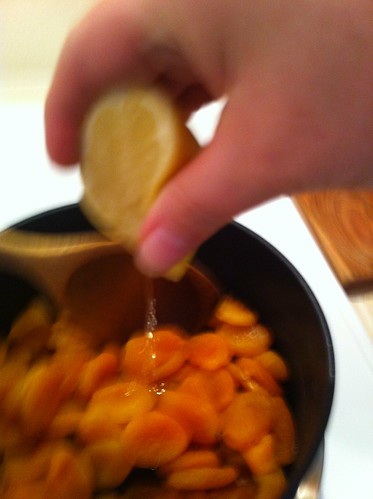
a squeeze lemon juice,
1 Tablespoon Cinnamon and a teaspoon of vanilla.

and a pinch of salt
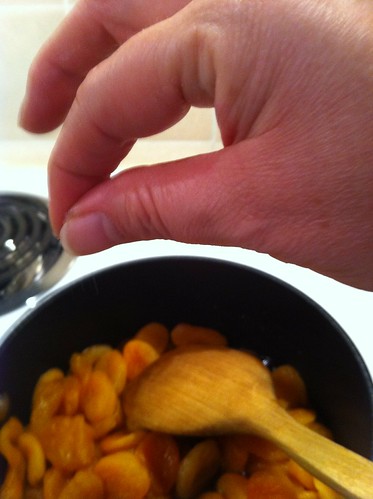

Then let they stew some more.
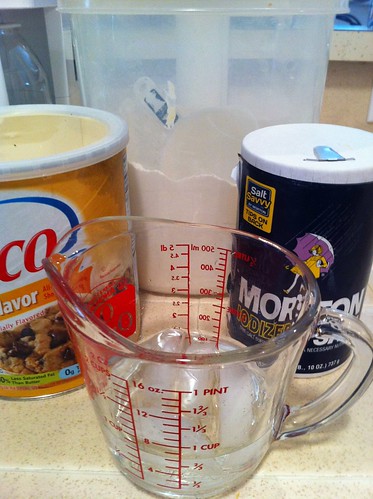
I start making the crust, and to be honest I use the BH&G recipe for double crust.

2 cups flour
1/2 teaspoon salt
2/3 cups butter/butter flavor criso
6-7 Tablespoons ice cold water.

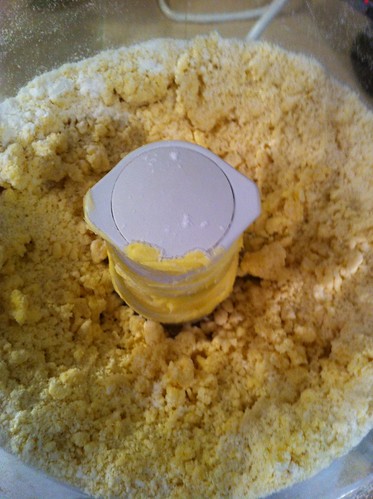
mix the first 3 ingredients,
then gradually add the water, 1 Tablespoon at a time until it starts to ball up.
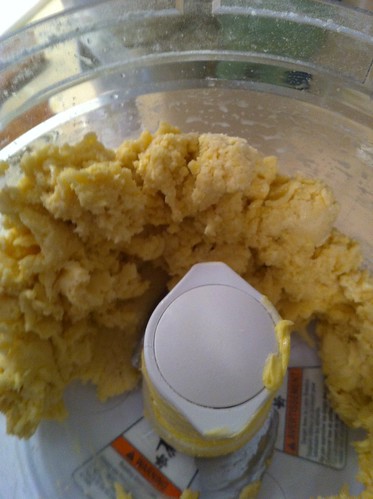
I place it in plastic or zip lock and put it in the refrigerator until well chilled - about 20-30 minutes.
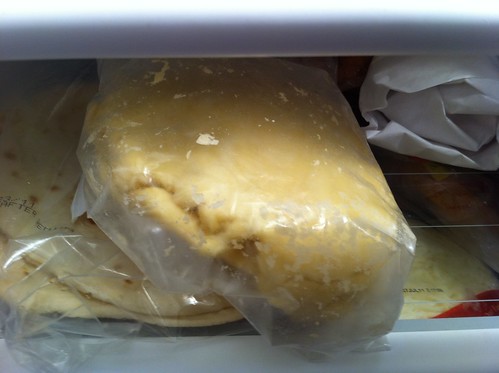

Time for a break because the apricots are stewing and the crust is chilling.


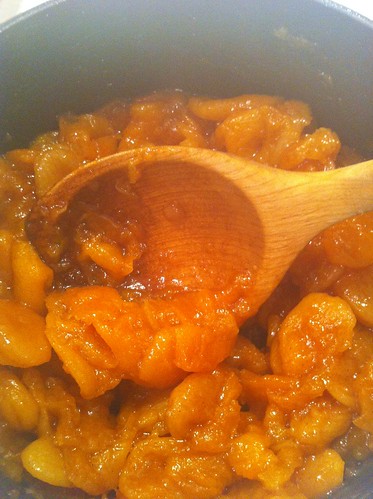
Note: watch the apricots, if they start to dry up - add 1 cup of water at time keep them moist - when you pull a spoon back you should see thick juice start to pool in the bottom Be sure to check them and do this as many times as you need. In total, I added 3 cups of water. Also, I cover them for about 1/2 the cooking time - when I want to speed this up.

Continue to stew them until they start to break apart when you mush them with a wooden spoon. When done, remove from heat and let cool.

I have tiled counter tops, years ago I found this pastry board that I use for rolling out crusts.
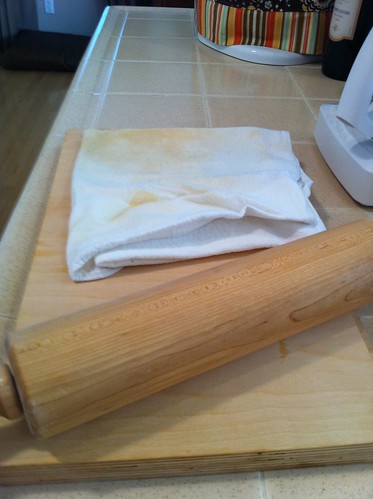


Trust me that pastry cloth is clean, just stained from many uses over the years and I can't find pastry cloth large enough to make a new cover.

The cloth slips over the edges of the two pieces of wood and then it flattens out.
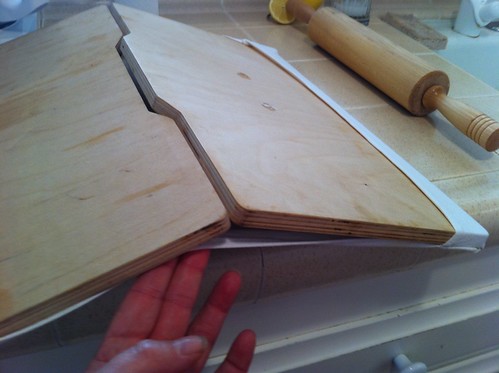


I rub the cloth down with flour to keep everything moving smoothly.
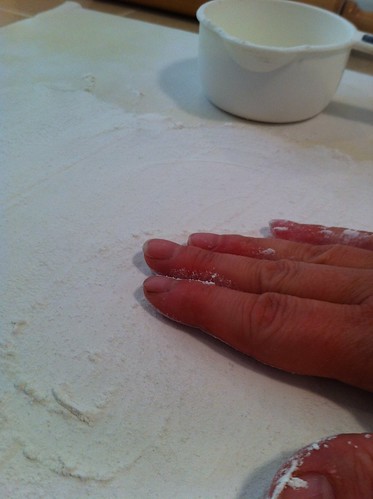

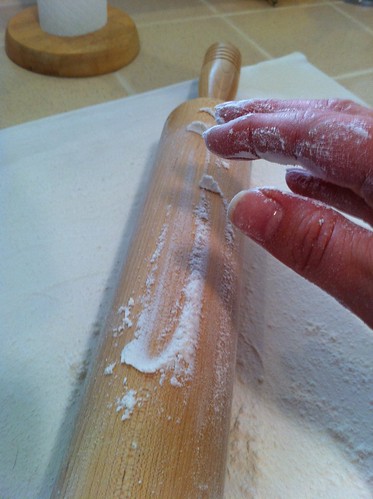
Then I rub my rolling pin down with flour too.

Now I take the crust out of the fridge and take off a fist size piece and roll it out.
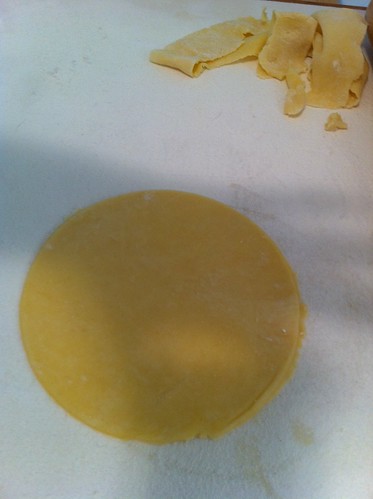

I use a rice bowl as my size guide - about 5" in diameter.

Time to start the oil. I use Crisco (1 cup to 2 cups depending on the size of your skillet) in a cast iron skillet at medium heat. You want the grease hot other wise the pies will get soggy. Probably around 350 degrees, but I don't use a thermometer just feel the heat coming off. Not very technical.
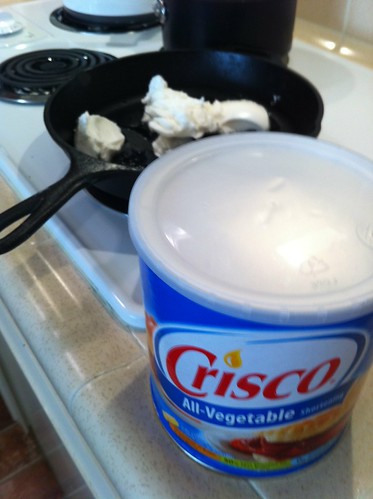


See how deep it is?
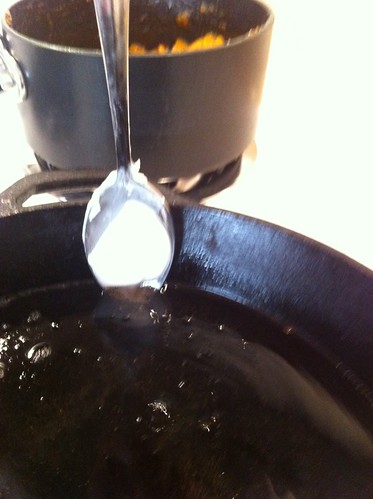
just enough to go up 1/2 way of the pies.

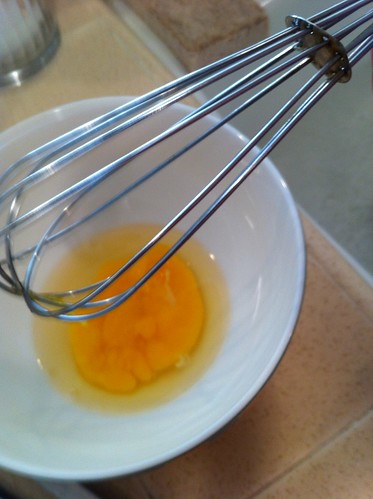
Prepare an egg wash for sealing the pies - 1 egg with about 1 tablespoon of cold water beaten well.

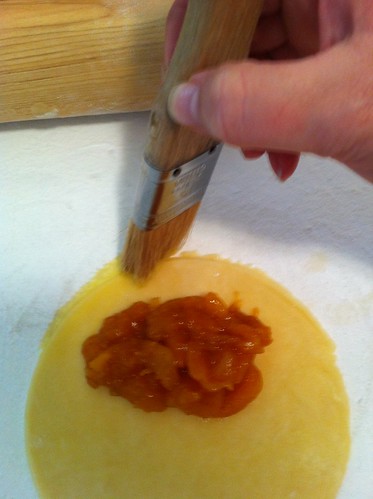
Place 1-2 Tablespoons of the apricot filling on the cut circle of crust and brush the edges with the egg wash.

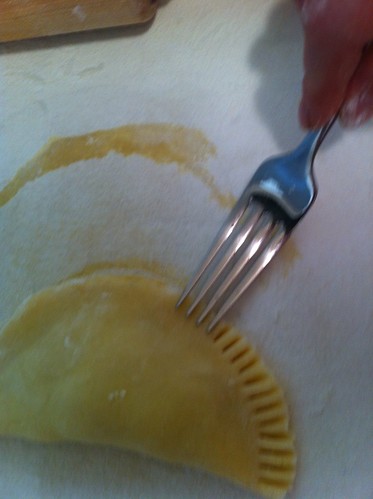
Seal the pie by crimping with a fork on both sides. Flip the Pie over and crimp from the back side too.


Now place in the hot grease (use caution for splattering and spills overs). Fry until under side is golden brown.
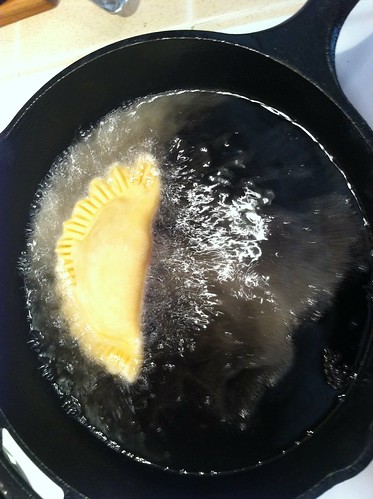
Then use tongs to flip it over and fry the other side. Use care so as to not puncture or break the crust.
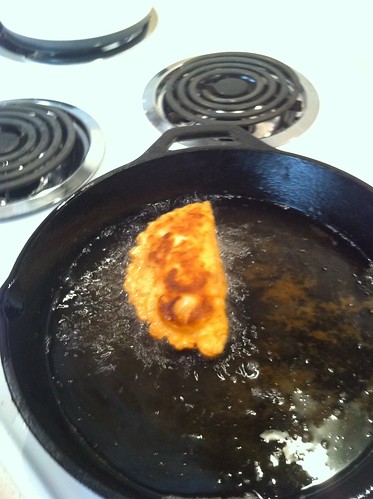

Place completely fried pie on a plate lined with paper towels to blot any extra grease.


I make mine one at a time, but if you are making a lot of these you can prep them all at one time and then fry all at one time - if you know what I mean.

Eventually, they are all fried and they look like this.


What to avoid - over filling the pie crust so you get a blow out. It makes your grease dirty faster and it's just messy and not pretty.
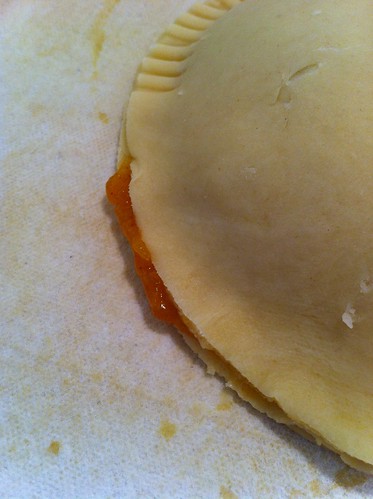


You're kitchen will get messy but good things come from the hard work.

I hope you enjoy them as much as my husband does.

Good Luck, and let me know if you have any questions or if I missed anything.

Thursday, February 10, 2011

My Green Bean Tutorial

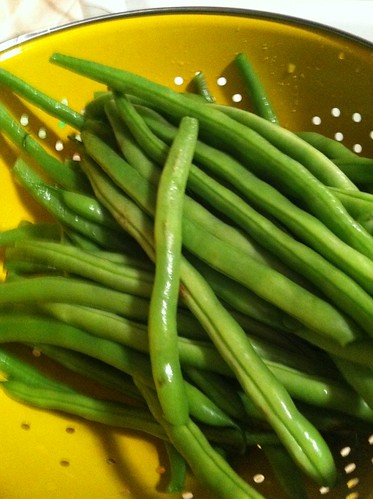
Obviously, I start with nice and fresh green beans. Trim the stem end and rinse them well.


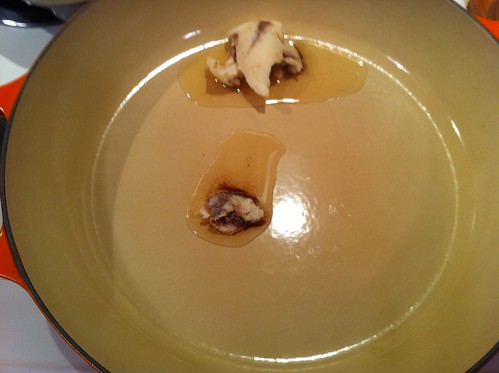
In a large skillet or pan, melt 2 Tablespoons of bacon fat (I keep my bacon drippings in a jar in the fridge for just this purpose)over medium heat.


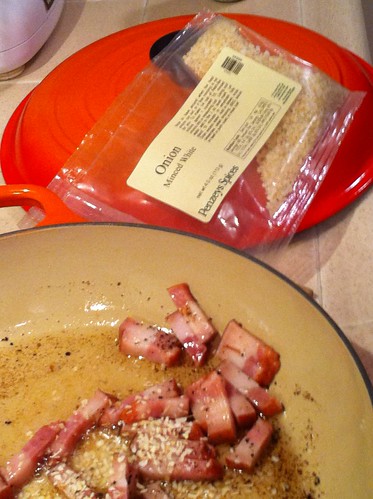
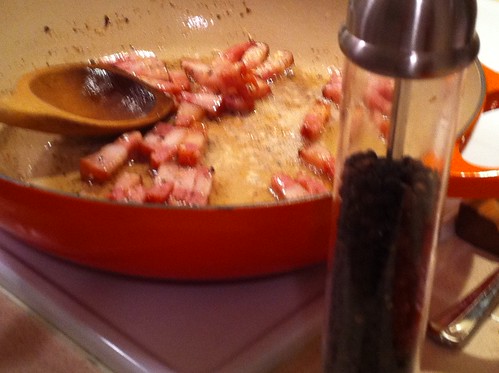
Next slice lardons of some sort of pork product - bacon, fat back or I used smoked pork jowl for this tutorial.

Render off the fat from the pork until the lardons are crispy and look like this.


Then I add in some onion flakes about 1 Tablespoon (yes you can use fresh, but I like the intense flavor of the flakes).


Reduce the heat to low and add in 1 teaspoon of pepper.


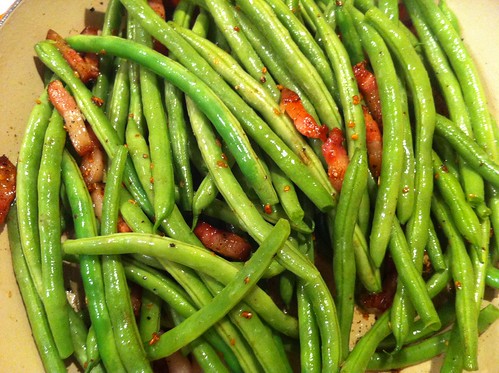
Add in the green beans and give everything a good toss, coating the beans in the all the pot liquor.


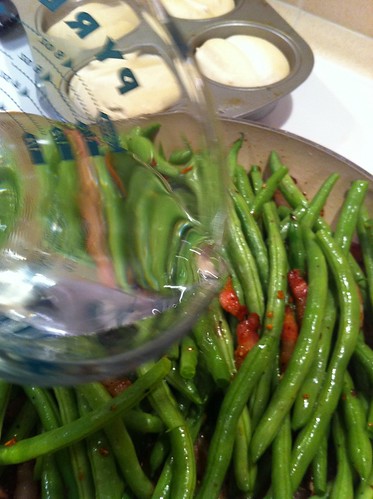
Then I add in 1 cup of water.


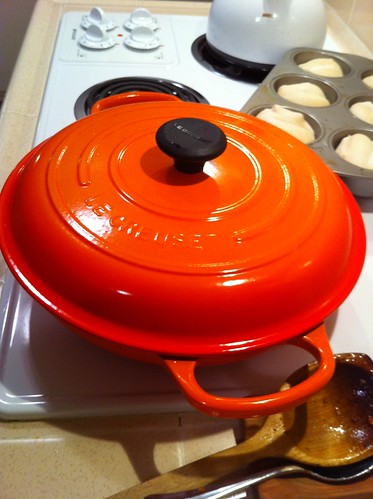
Put the lid on and let it simmer on low for 20-30 minutes stirring occasionally until the beans are tender.


Serve them up with your favorite meat and taters and enjoy.